Difference between revisions of "Lunamor/Gallery"
< Lunamor
Jump to navigation
Jump to search
(created gallery page.) |
m (→Portraits) |
||
| Line 13: | Line 13: | ||
Rock by Nat Rodgers.jpg | <center><small>by {{a|Nat Rodgers}}</small></center> |
Rock by Nat Rodgers.jpg | <center><small>by {{a|Nat Rodgers}}</small></center> |
||
Rock Shuravf.png | <center><small>by {{a|Shuravf}}</small></center> |
Rock Shuravf.png | <center><small>by {{a|Shuravf}}</small></center> |
||
Bridge Four by Rachel J Corey.jpg | <center><small>by {{a|Rachel J Corey}}</small></center> With other members of [[Bridge Four]] |
|||
</gallery> |
</gallery> |
||
Revision as of 20:23, 18 September 2020
Official artwork
- Official artwork
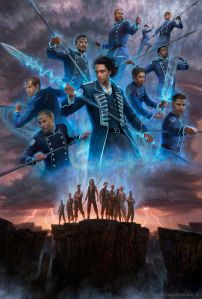
by Derek Murphy Alone Together, from Call to Adventure: The Stormlight Archive.


Portraits
- Portraits
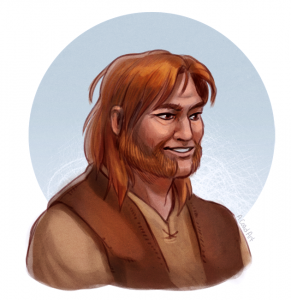
by Ashley Coad 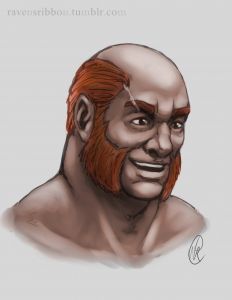
by Nat Rodgers 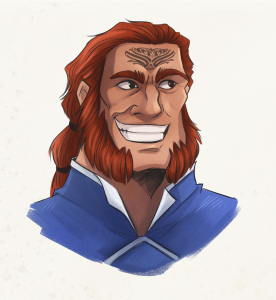
by Shuravf 
by Rachel J Corey With other members of Bridge Four


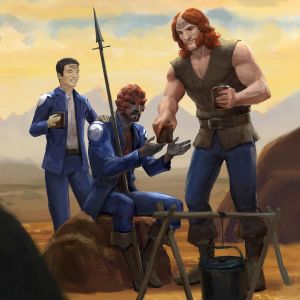
Scenes
- Scenes
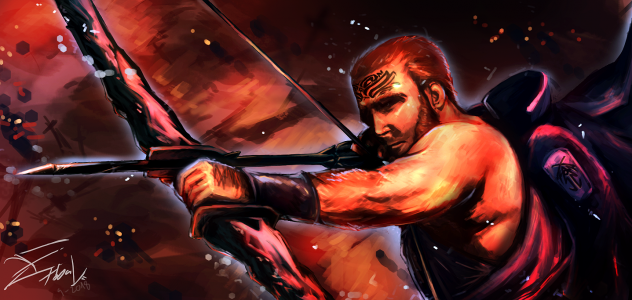
by tobalgz Shooting a Shardbow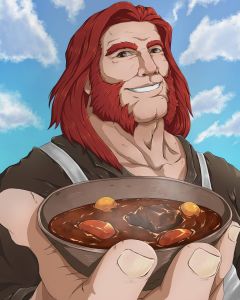
by Ralf Melevo Cooking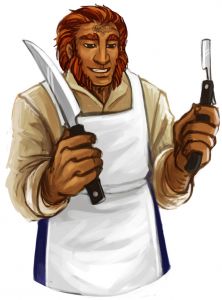
by Sheep


