Difference between revisions of "Lopen/Gallery"
< Lopen
Jump to navigation
Jump to search
(Created page with "== Artwork == <gallery mode="packed" heights=200px caption="Images of Lopen"> Lopen portrait.png | <center><small>by {{a|Jamie Knierim}}</small></center> Lopen Portrait by Mar...") |
|||
| Line 8: | Line 8: | ||
Experiments by Marie Seeberger.jpg | <center><small>by {{a|Marie Seeberger}}</small></center> Getting stuck to the wall to test [[Kaladin]]'s powers |
Experiments by Marie Seeberger.jpg | <center><small>by {{a|Marie Seeberger}}</small></center> Getting stuck to the wall to test [[Kaladin]]'s powers |
||
Cord and Lopen by Stivya.png| <small><center>by {{a|Stivya}}</center></small>With [[Cord]] |
Cord and Lopen by Stivya.png| <small><center>by {{a|Stivya}}</center></small>With [[Cord]] |
||
</gallery> |
|||
== Symbols == |
|||
<gallery mode="packed" heights=200px caption="Symbols"> |
|||
Lopen_Chapters.svg| <small><center>by {{a|Ben McSweeney}}</center></small>Symbol from [[Lopen]]'s chapters, featuring [[Rua]] and the [[Bridge Four]] [[glyph]] |
|||
</gallery> |
</gallery> |
||
Revision as of 17:30, 28 November 2021
Artwork
- Images of Lopen
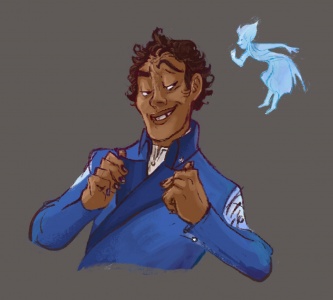
by Marie Seeberger With Rua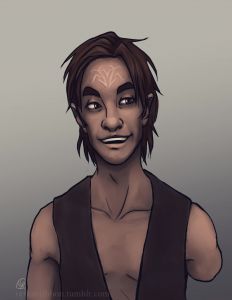
by Nat Rodgers 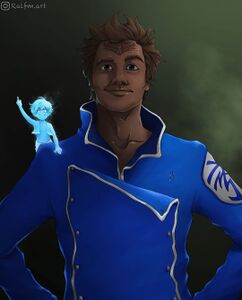
by Ralf Melevo With Rua
by Rachel J Corey With other Bridge Four members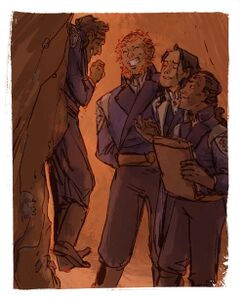
by Marie Seeberger Getting stuck to the wall to test Kaladin's powers


Symbols
- Symbols

